Solar Bore Pumps

  • Lorentz Solar Bore Pumps
    • How it works
    • Pump Selection
    • Large Scale Solar Irrigation
  • Lorentz Solar Bore Pump Kits
    • Lorentz PS2-100 kits
    • D.I.Y. Instructions
    • Solar Pump Cable
    • Crusader Flexibore
    • Tindo Solar
  • Solar Swimming Pool Pumps
  • Send details of you bore
  • Contact Us
  • Terms & Conditions of Trade
  • Lorentz Warranty

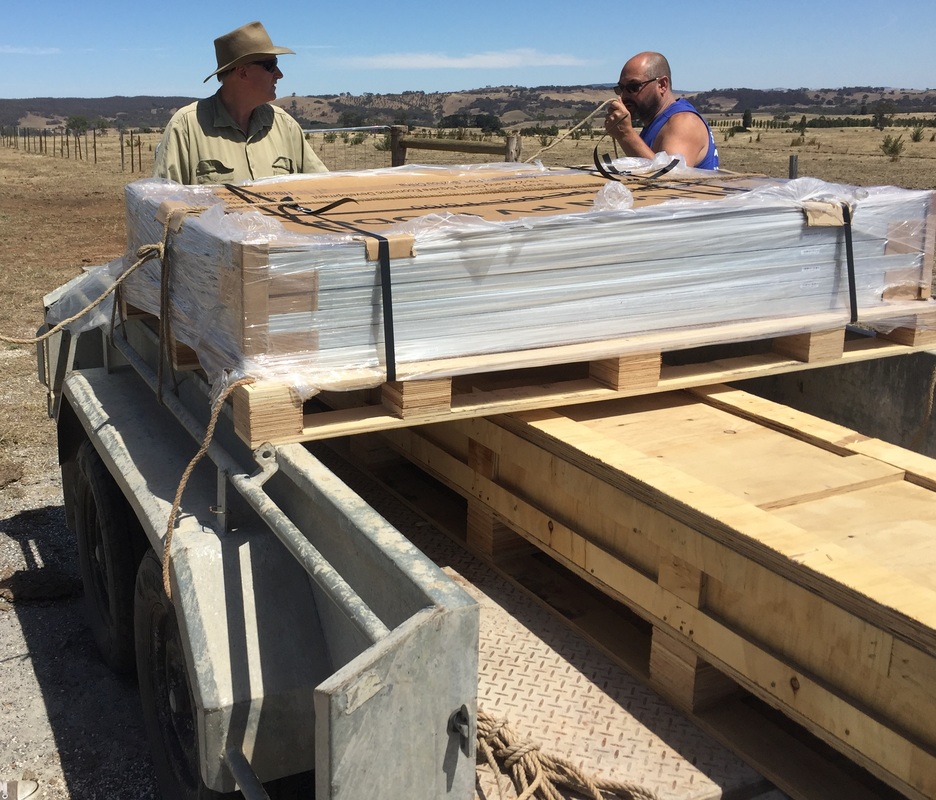
DYI pump kits - supplied with easy to follow installation instructions in English.

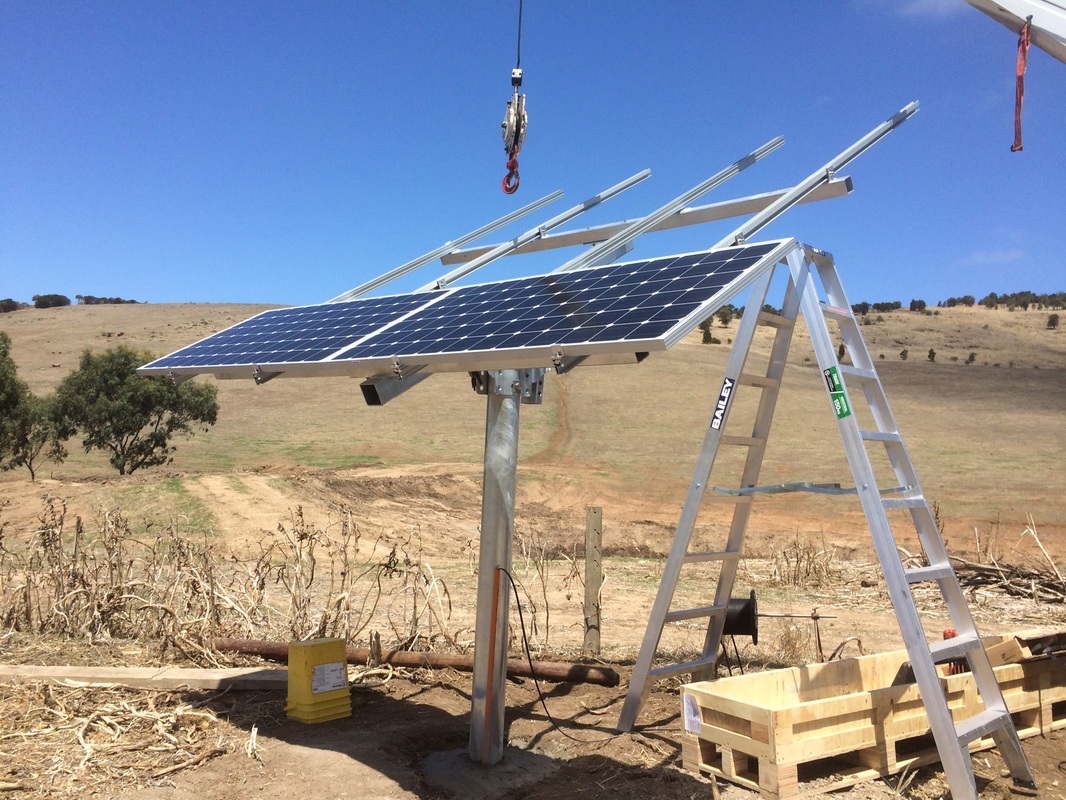
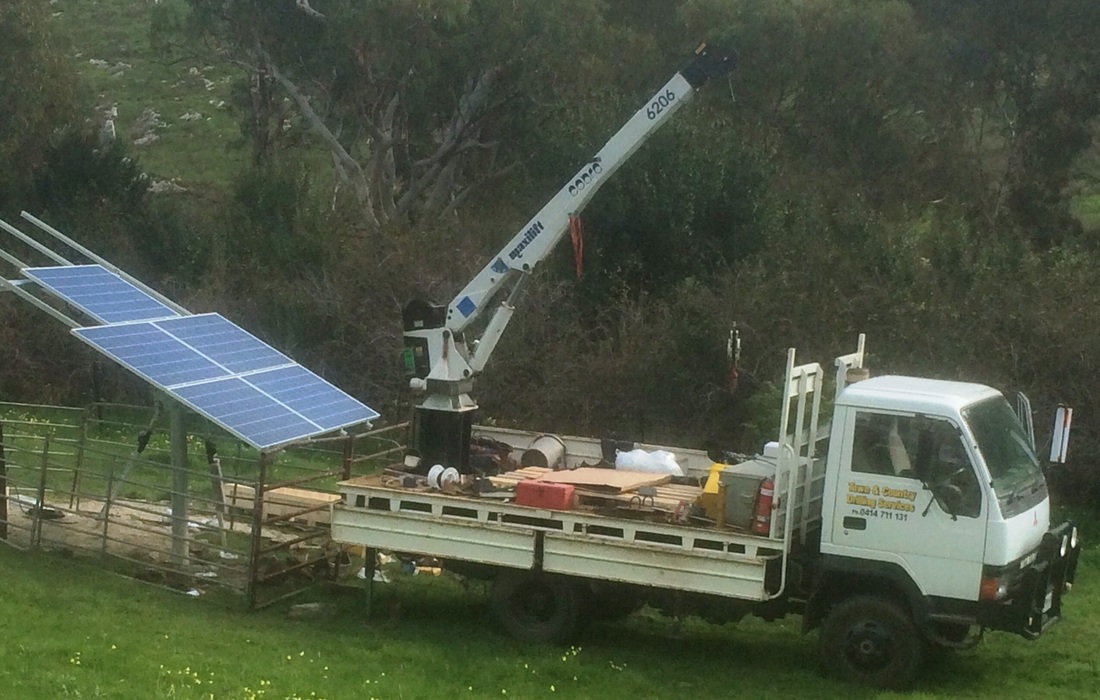
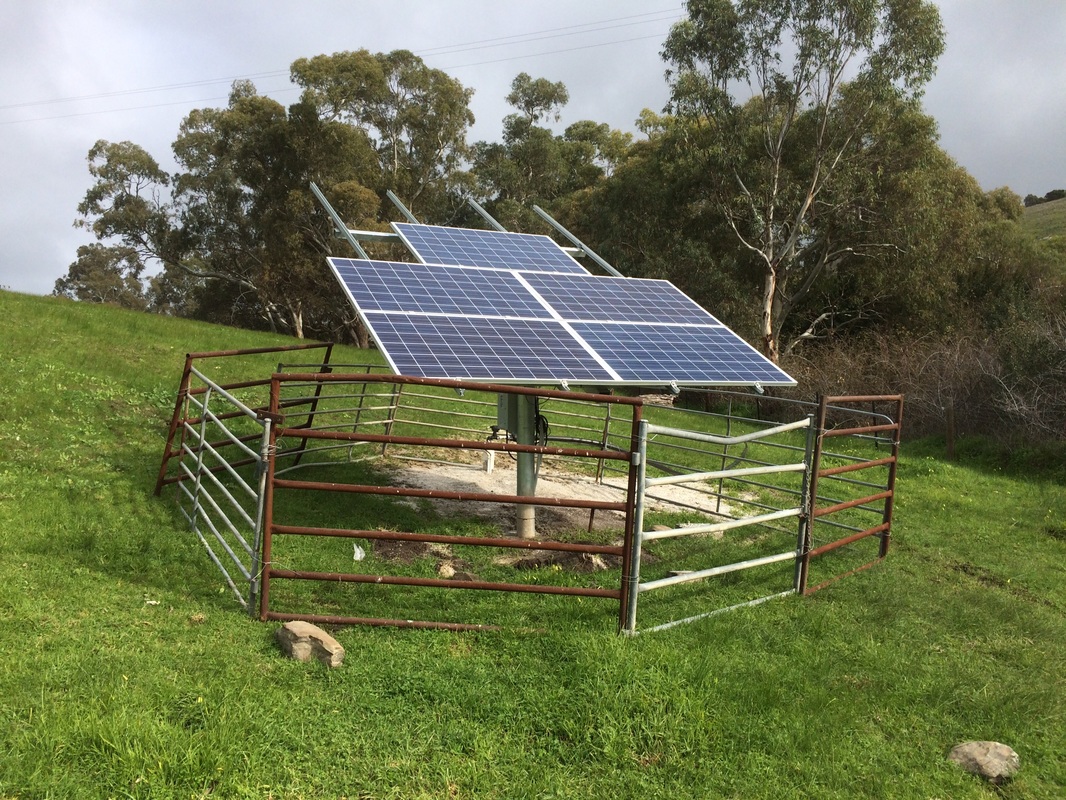
FOLLOW THESE STEPS TO INSTALL YOUR LORENTZ SOLAR BORE PUMP KIT YOURSELF OR CALL US FOR ASSISTANCE.
​PLUS ASK US ABOUT OUR INSTALLATION SERVICES IN SOME AREAS!

STEP 1:

Select required pump system
Use our selection guides or contact us to get the best information and advice.

STEP 2:

Unpack the pump system
Check for transport damage. Lay the pump and components out identify and familiarise yourself the items. Give us a call if you need more information.

STEP 3:

Install post
Dig a hole around 1m deep and about 300mm in diameter for the installation of the pole mount for the solar array. Follow the supplied instructions. Additional copies can be sent or downloaded.
Align the axis of the frame mounting hole to allow the panels to face north. Concrete the pole in and allow to set overnight.

STEP 4:

Install pump
 Splice submersible cable to pump cable see instructions at-  http://www.waterborepump.com.au/submersible-cable-splice-guide.html.
Lay the submersible pump along side the water bore or source of water. Connect the Crusader Flexibore or Metric poly pipe to the pump and bore cap. Layout electrical cable and cable tie to the lugs on Flexibore or tape to Metric Poly pipe every couple of metres. Lower pump into bore or water source. Install Flow and or pressure switches in the pipe from bore cap to your intended destination of pumped water.​ 
Additional instructions available from-
​http://www.waterborepump.com.au/installation-guide.html  or call us any time on 1300 727 042.

STEP 5:

Mount Solar Panels
Make up frame on post following instructions included with Pole Mount System. Set the angle according to the data sheet supplied by Solarborepumps. Mount controls and drive unit to post. Make connection of pump power cable to AC isolator and drive unit if fitted. Follow instructions supplied with drive unit for correct wiring for particular unit. Ensure DC isolator is in the off position, Plug the solar panel output cables together following the supplied instructions and then connect to isolator.
STEP 6:
​Commissioning and Testing
Stand back and check that each step is complete. Open valves if fitted, turn on DC isolator drive unit and pump should now power up and pump should start pumping. Sometimes it takes a couple of starts to inflate the Crusader Flexibore hose and allow flow switch to activate. Allow the pump to operate and then test the tank filling valves or switches if fitted. Take a photo and tell your mates how clever you are and how good this system is.

clenergy pv-ezrack post mount installation instructions.

pv-ezrack_postmount_2-a_installation_guide_v1.0.pdf
File Size: 1510 kb
File Type: pdf
Download File

pv-ezrack_postmount_3-a_installation_guide_v1.0.pdf
File Size: 1504 kb
File Type: pdf
Download File

pv-ezrack_postmount_4-a_installation_guide_v1.0.pdf
File Size: 1434 kb
File Type: pdf
Download File

pv-ezrack_postmount_6-a_installation_guide_v1.0.pdf
File Size: 1601 kb
File Type: pdf
Download File

Waterborepump Warehouse Youtube Channel
Picture
This free downloadable How to Guide contains information on how to choose the correct submersible pump to suit your application, how to prepare the pump and components for installation, and how to adjust the controls and switches on a new or existing pump installation. The fault finding guide is also included to assist with finding the problem and it’s possible cause. 

​Contents of How to Guide-
​1. Submersible Pump Selection 
2. Submersible Pump Shroud 
3. Submersible Cable Splice 
4. Submersible Pump Installation 
5. Solar Panel Installation 
6. Pressure Switch Adjustment 
7. Grundfos PRO-Tect AUTO ME set  up 
8. Fault Finding Guide 

Additional How To Guides are available;

Solar Panel Installation
Submersible Cable Splicing
Submersible Pump Installation

Give us a call on 1300 727 042
or email ​info@solarborepumps.com.au

Tweet
This website is proudly owned and operated by Town & Country Drilling Services Pty Ltd. All content on this site is protected under copyright law 2014 and is owned by SolarBorePumps.com.au and/or other associated companies. Town & Country Drilling Services' head office is located in South Australia. Check out our submersible bore pump BLOG here.  Website Design by CorpMentis.com.

Australian Owned and Operated Company Registered in Australia - ABN:  14 633 265 270
Terms of Trade-
Terms of Trade
Picture
Grant Phillips
Solar Bore Pumps

info@solarborepumps.com.au
1 Gordon Avenue
Belair , South Australia , 5052 Australia
1300 727 042

Solar Bore Pumps, Solar Bore Pump, Bore Pumps
Contact us